Hubby's Grandmother has a birthday coming up later this month... and I've been racking what used to be a fully-functioning brain, for a suitable gift...
So as I'm in a home-made gift making phase and given that she's from Holland I started searching for Dutchy things that I could perhaps give a go...
Pinterest provided a suitable idea... a Dutch pinwheel... I wasn't going to attempt anything as elaborate as a whole quilt so I decided on a suitable smaller option - a cushion cover.
I searched good old TradeMe for some cushion inners and found some brand new ones for $4 each. Armed with my new cushion inner and it's dimensions I set to work.
First some planning: Very high tech as you can see. I'd decided to made a double border around the edge so working out sizes was fairly simple. Of course I just added on an extra centimetre on all sides for the seams.
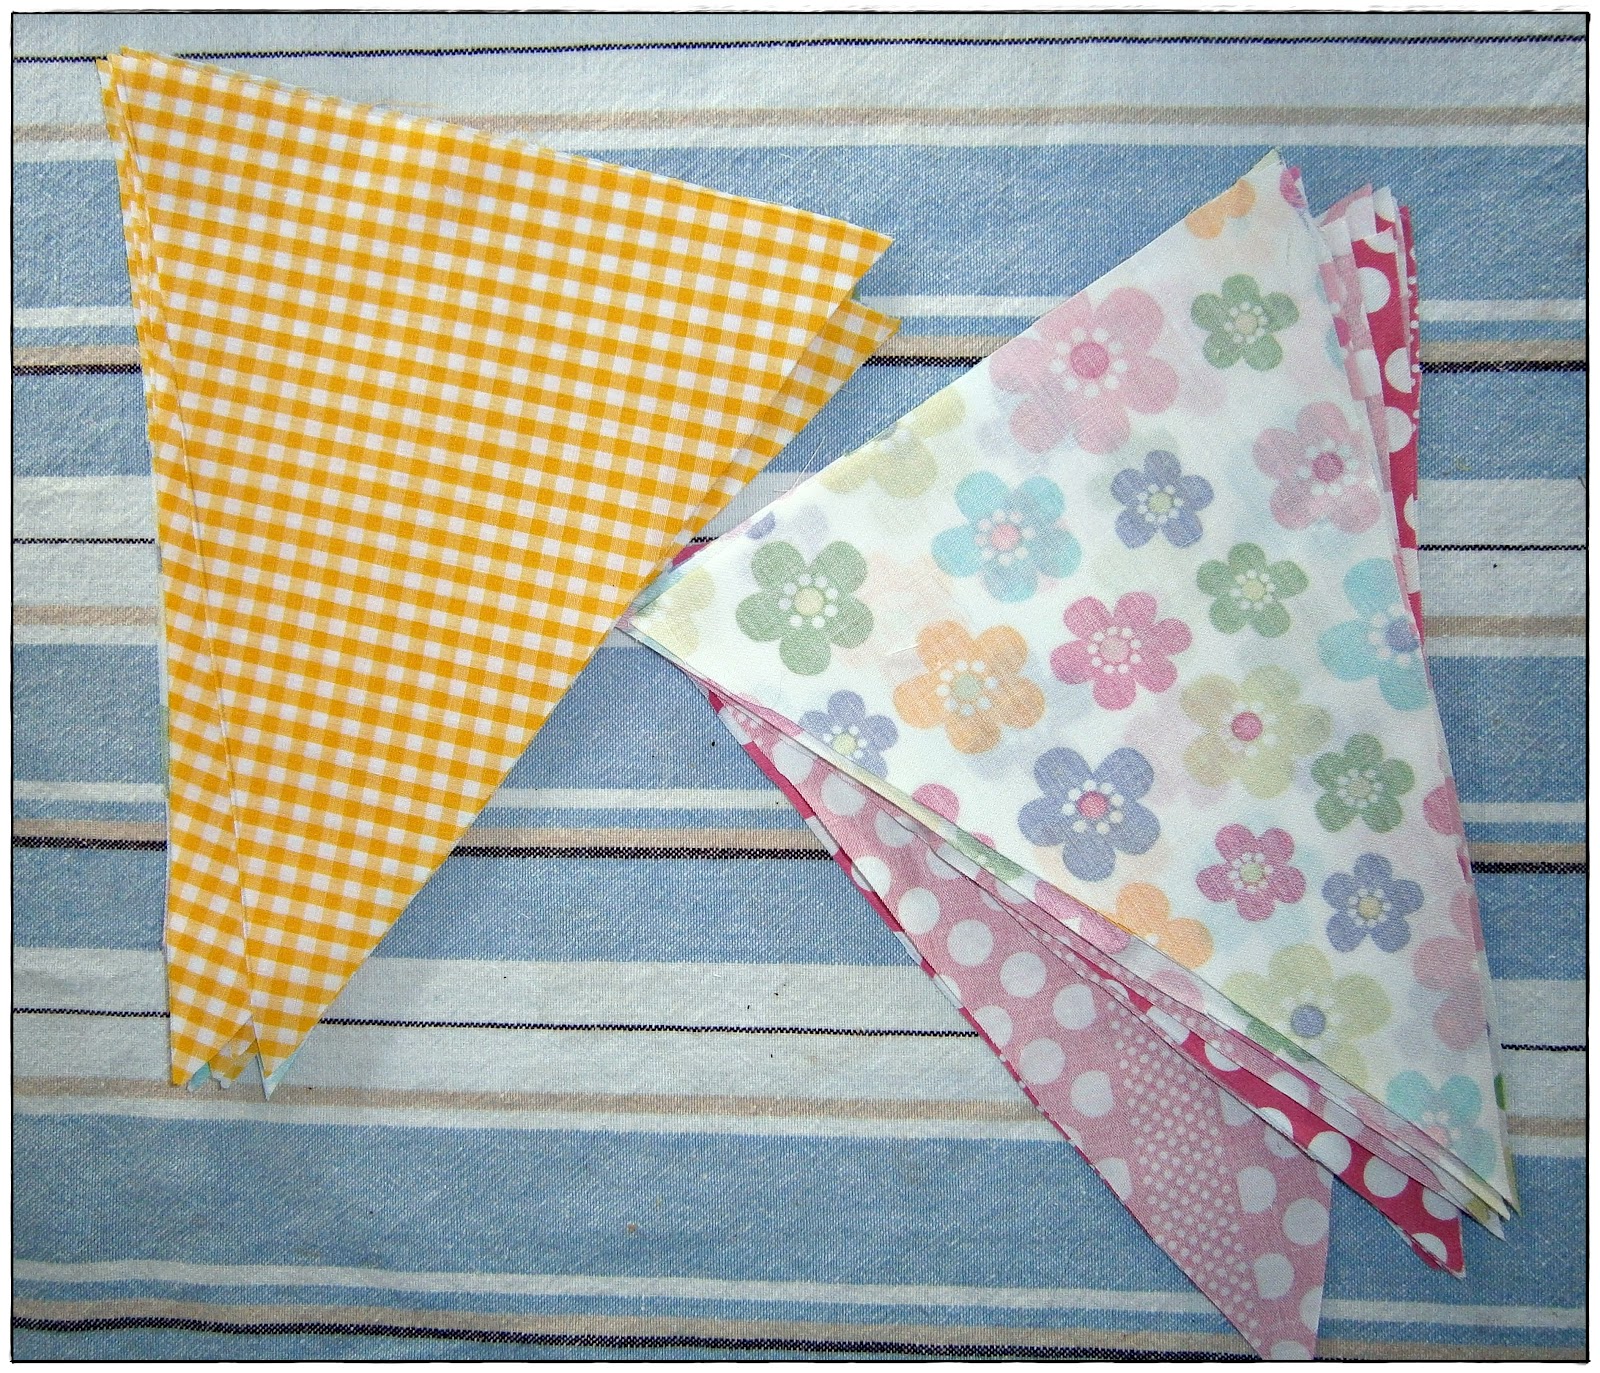
The Pinwheel would require 32 squares. 16 white and 16 coloured. As for the colours, patterns, etc, anything goes. I have seen some that don't have the white "background". Some people do the pinwheel as one fabric type/pattern/design, some mix it up, some have four different covered "blades", each to their own. As I'm trying to keep with the Dutch theme I decided to make the pinwheel predominantly blue and have a red border. Again I used leftover fabric from my stash. I measured and cut out 16 white squares and 16 blue (4 of each different blue pattern).

We match up one coloured square with a white one. Then draw a line from one corner to another diagonally and sew on this line with the right sides together. You'll end up with 16 joined squares.

Next, cut along one side of your sewed line to create a seam of about 1cm.

Fold open and press. If you are using white it is suggested to press the seam to the coloured side so it doesn't show through the front.
Lay the squares out in the pinwheel pattern.
Sew the blocks together, line by line. Then sew the 4 lines together.

I then added the first of the borders around the outside.
Then the second:
And presssed.
I wanted to quilt it to give the borders some definition. I got some batting and quilters cotton, then hand-quilted (I'm yet to get a foot for my sewing machine to do this) around the edges (sorry I completely forgot to take pictures...) Again this is about personal preference. Many people do a full-blown quilting job, others do nothing, and some do different elements.
The quilters cotton is slightly waxed and therefore goes through the 3 layers more easily. A small sharp needle and a simple running stitch is all that is required for the quilting... and a little time. The quilting took longer than the rest of it combined but was fun and a bit new being the first time I've attempted anything like it!
Next came whipping up a simple envelope back. Two pieces of fabric both cut to the right width, but to about 2/3rd's in length/height to allow them to overlap sufficiently. Also, allow a bit extra to hem the visible edges. (I didn't have quite enough to make two large pieces which is why one side is joined down the middle...) And I would strongly suggest remembering to press the two pieces before pinning and sewing, rather than afterwards!
Measure, cut, hem, pin the two back pieces to the front (right sides together) and sew the outside edges together. I doubled back over the opening edges for extra strength (when inserting and removing the cushion over time).
Trim the corners back, turn the cover inside out, I used a bic pencil without the lead to help push the corners out properly, pop the cushion in and voila!
Done.
One birthday cushion to be dispatched South shortly!
Hopefully that wasn't too wordy and you're still with me!
Have a happy week!
xx